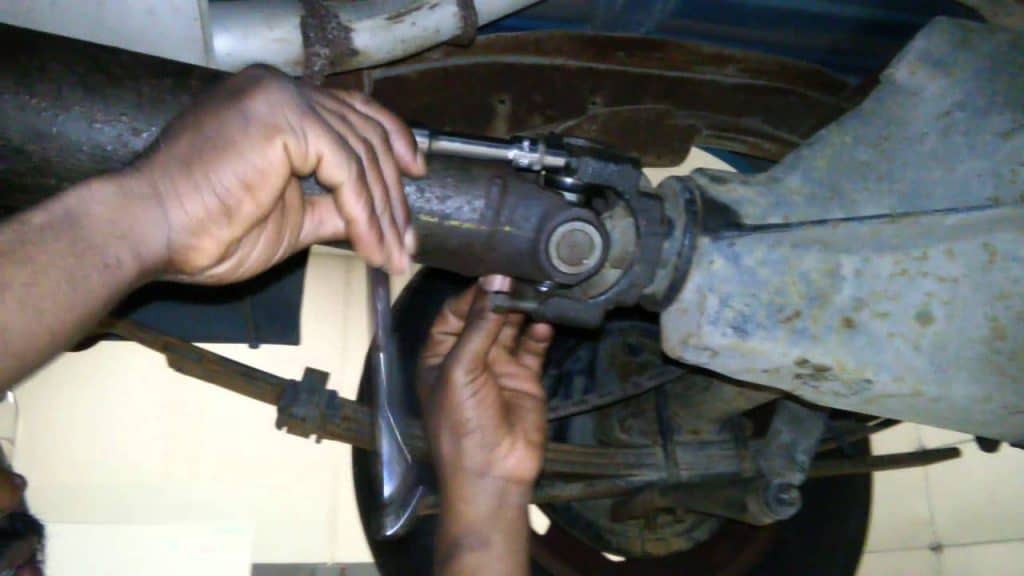
Step 1: Remove both driveshafts. The rear is held in by 2 straps with 4 11mm bolts on the rear pinion. If the driveshaft seems stuck in the pinion yoke, use a bit of penetrating oil and a long screwdriver or pry bar to pop the u-joint out of the yoke.
The front shaft may be held in by a boot on the transfer case, so you will need to undo the band holding it into place then simply pry it off. Once done, the front shaft will need to be unbolted from the front differential and will then come out of the transfer case.
Step 2: Drain transfer case fluid. Since most transfer cases have a built in drain plug, this makes for an easy job. This should be an 18mm bolt on the bottom of the transfer case.
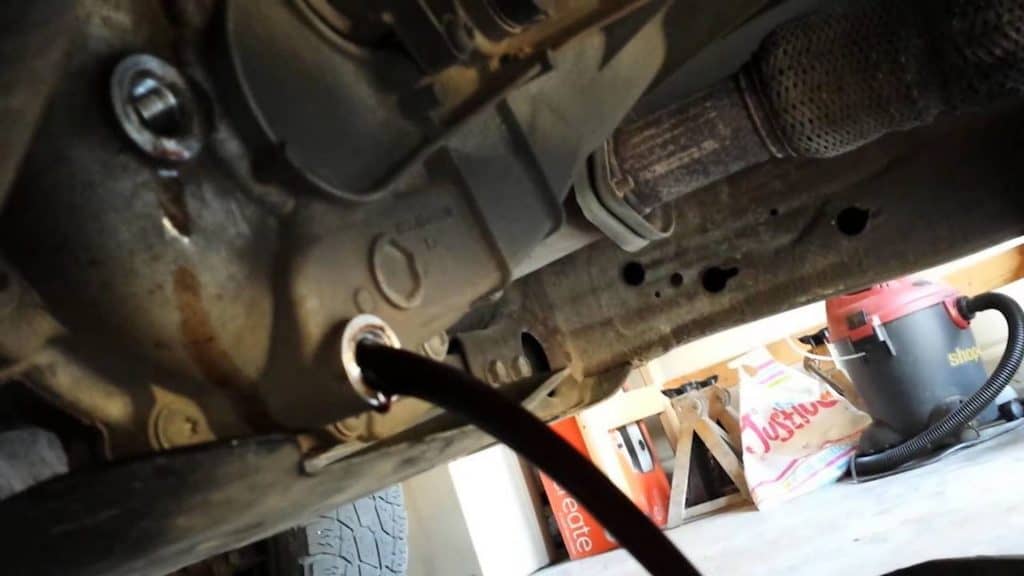
Note: Before draining the transfer case, make sure you can remove the fill plug first. The last thing you would want is an empty transfer case and no way to fill it back up. The image above shows the transfer case fluid draining as well as the fill plug above the drain plug.
Step 3: Remove all sensors. The sensors you need to remove will be towards the back of the transfer case and are basic snap in connectors.
Step 4: If you have a manual 4×4 selector (shifter), you will need to remove the linkage that engages the transfer case. If you have an electric controlled unit, you can skip this step.
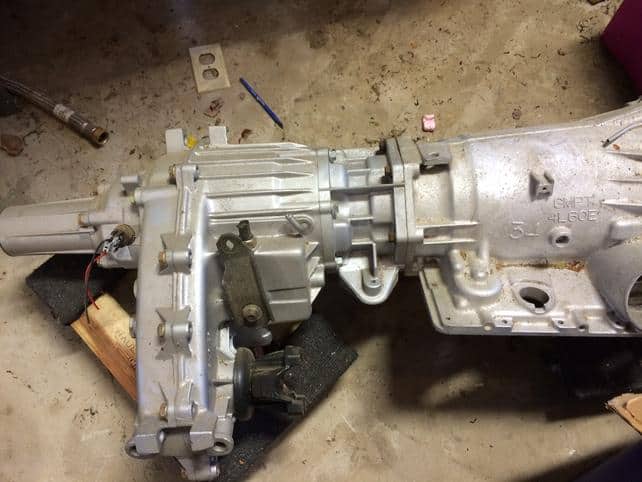
Step 5: Remove bolts holding the transfer case to the back of the transmission. There are 6 15mm bolts holding the transfer case on the rear of your 4l60e. Due to their location and lack of space, using a ratchet wrench makes removal much easier than a socket.

Step 6: Remove the transfer case. This may be tricky if you have a truck with torsion bars and a cross member in place, but it is doable. With some patience you can back the transfer case off the tail of the transmission and drop it down. As always, be a cautious as possible when doing this and get the help of a friend and use a jack to remove the transfer case.
For a visual guide, follow this detailed transfer case removal guide done on a 2004 Silverado.